
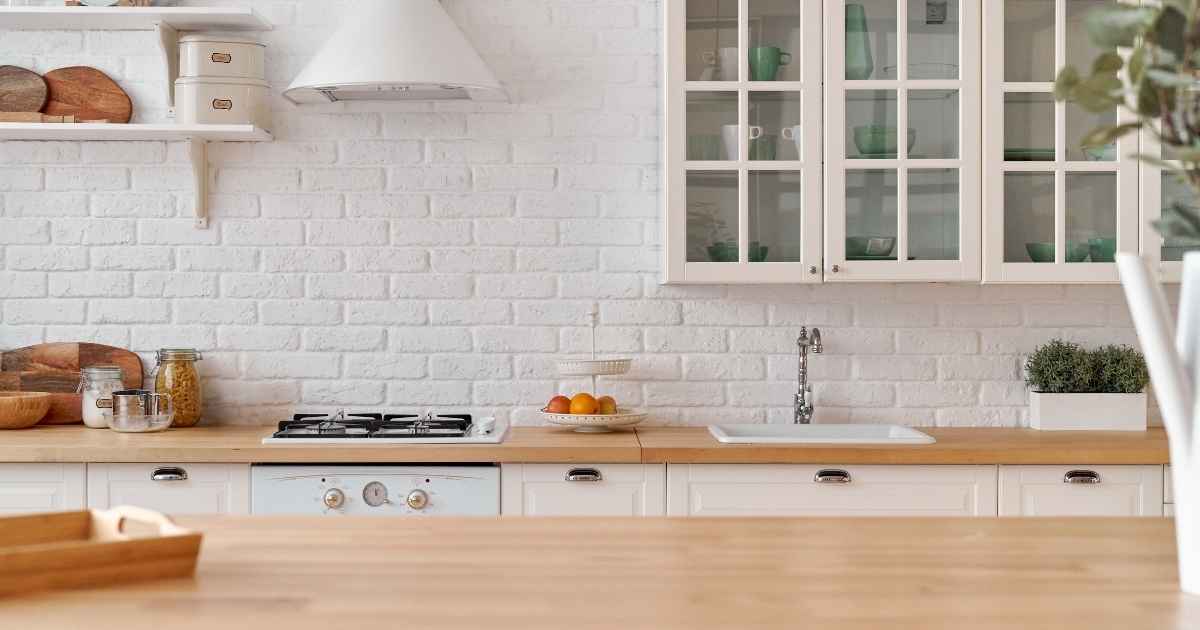


Key Takeaways: DIY home staging doesn’t require a major renovation. Start by repairing, deep cleaning, and decluttering, then depersonalize, remove excess furniture, open up walkways, maximize natural light, simplify kitchens and bathrooms, and improve curb appeal before listing.
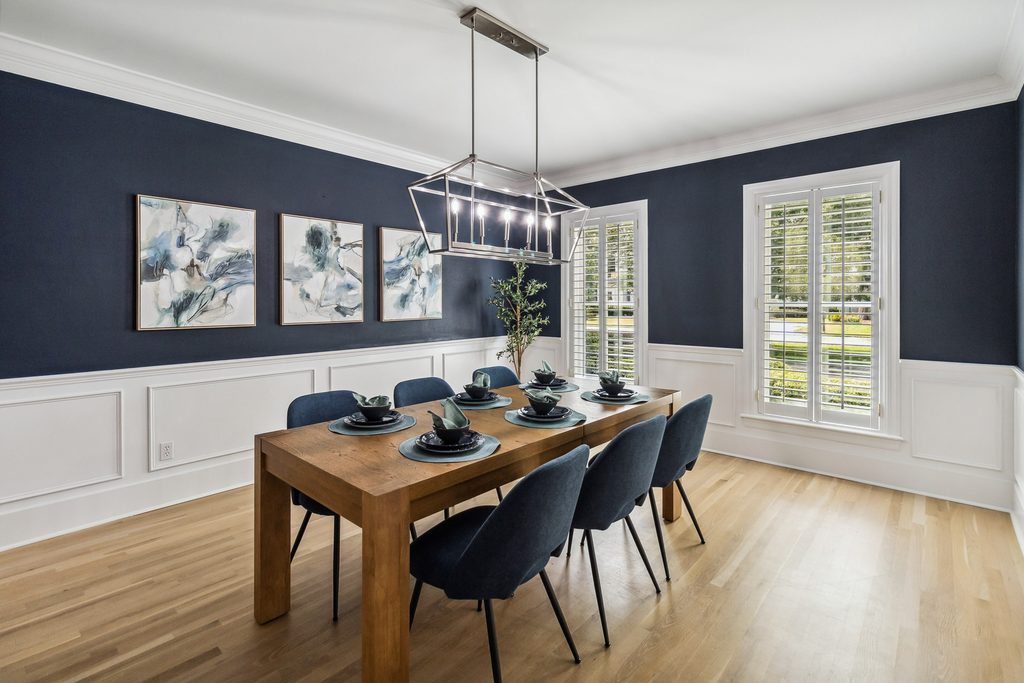
DIY home staging doesn’t mean turning your house into a showroom or spending thousands of dollars on new furniture and decor. It means preparing your home so buyers can see its best features, understand how the space works, and picture themselves living there.
The biggest mistake sellers make is treating staging like decorating. Decorating is about making a home feel personal and reflect the people who live there. Staging is about making the property itself the focus.
That usually means doing less, not more.
Before you list, focus on the things buyers notice first: cleanliness, clutter, furniture placement, natural light, storage, curb appeal, and the overall condition of the home. You don’t necessarily need a renovation, and you probably don’t need to replace everything you own.
A good DIY home staging plan is simple: repair, clean, declutter, depersonalize, edit, brighten, improve the first impression, then prepare the home for photography and showings.
What Should You Do Before DIY Home Staging?
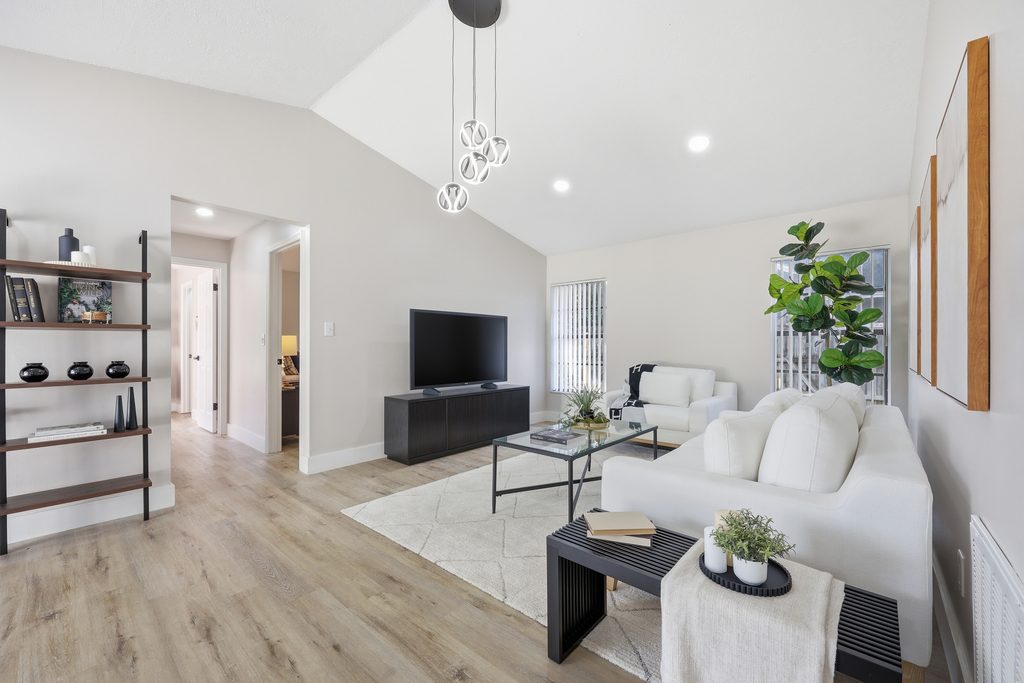
Before you start moving furniture and styling shelves, take care of the things that make the home feel unfinished or poorly maintained.
Start With Repairs and Maintenance
Staging can’t hide problems that buyers are likely to notice immediately.
Walk through your home and make a list of small repairs you’ve been putting off. This could include:
- Burned-out light bulbs
- Loose cabinet or door hardware
- Dripping faucets
- Damaged doors
- Scuffed walls
- Broken blinds
- Loose handles
- Sticking doors
- Damaged flooring
- Missing outlet or switch covers
- Anything that looks unfinished or poorly maintained
You don’t need to fix every imperfection in your home before selling. The goal is to address the things that could distract buyers or make them question how well the property has been cared for.
This is also where it’s important to separate maintenance from remodeling. If your kitchen is dated, that doesn’t automatically mean you need to replace the cabinets. If your bathroom isn’t the latest trend, that doesn’t mean you need a full renovation.
Ask yourself: Will this improvement make the home easier to sell, or am I simply making it more to my taste?
Walk Through Your Home Like a Buyer
You’ve lived in your house long enough that you’ve probably stopped seeing many of the things a buyer will notice.
Try this instead.
Take photos or short videos of every room. Stand in the doorway of each space and look at the room as if you’ve never been there before.
What do you see first?
Is it a beautiful fireplace? A great view? A large window? The kitchen island?
Or is it a pile of shoes, an oversized sectional, a collection of family photos, or a countertop covered in appliances?
Your first impression in the room should ideally be one of the property’s strengths.
This is one of the simplest DIY home staging exercises you can do, and it costs nothing.
Decide Where Your Money Is Actually Needed
Before spending money on staging, divide your list into three categories:
Must fix: Issues that affect condition, function, cleanliness, or buyer confidence.
Worth considering: Affordable improvements that could improve presentation or marketability.
Probably not necessary: Expensive changes that mainly bring the home closer to your personal taste.
You don’t need to renovate your entire home just because you’re selling it. In many cases, cleaning, decluttering, rearranging furniture, improving lighting, and addressing obvious maintenance issues can have a much bigger impact on how the home is perceived.
1. Clean Your Home Before You Stage It

A staged home should look clean before it looks styled.
If buyers see dirty floors, dusty baseboards, fingerprints on doors, or a grimy bathroom, they’re likely to notice the condition of the house before they notice your carefully chosen throw pillows.
Start With a Deep Clean
Don’t just clean the areas you normally clean every week.
Before listing, pay attention to:
- Floors and carpets
- Baseboards
- Windows and window tracks
- Doors and door frames
- Light fixtures and ceiling fans
- Cabinet fronts
- Appliances
- Shower doors and grout
- Under sinks
- Behind toilets
- Closets
- Entryways
- Patios and outdoor areas
Windows deserve special attention because clean glass can make a surprising difference in how much natural light enters a room.
The goal isn’t simply for the house to be technically clean. It should look clean in person and in listing photos.
Don’t Forget the Smells
Odors can be just as distracting as visual clutter.
Before listing, address the source rather than trying to cover it up with candles or air fresheners.
Clean carpets and upholstery, take out the trash, clean areas where pets spend time, and make sure kitchens and bathrooms are fresh.
Avoid strong fragrances immediately before showings. You want the home to smell clean and neutral, not like you are trying to hide something.
Clean Is the Baseline, Not the Finish Line
This distinction matters.
Cleaning removes dirt.
Staging removes distractions.
A spotless room can still feel crowded because it has too much furniture. A perfectly clean kitchen can still feel cluttered because every appliance is sitting on the counter.
Think of cleaning as preparing the canvas. Staging is deciding what belongs in the picture.
2. Declutter Before You Do Anything Else
DIY home staging works best when you start with less. Before adding decor or rearranging furniture, remove anything that makes the home feel crowded, cluttered, or difficult to navigate.
Clutter doesn’t just make a home look messy. It can make rooms feel smaller and make buyers question whether the home has enough storage.
Clear Kitchen Counters
You don’t need an empty kitchen, but you probably don’t need every appliance you own sitting on the counter.
Consider putting away:
- Toasters
- Blenders
- Coffee machines you rarely use
- Knife blocks
- Paper towels
- Food packaging
- Excess decor
Leave a few intentional items if they help the kitchen feel inviting.
Edit Bathroom Counters and Cabinets
Bathrooms should feel clean, simple, and easy to maintain.
Put away toothbrushes, medications, hair products, toiletries, cleaning products, and anything else that makes the room feel like someone’s personal bathroom.
You should also look inside the cabinets. Buyers often open them.
Declutter Closets
An overflowing closet can make a large closet look small.
Start removing clothing and belongings you don’t need during the selling process. Pack seasonal items, donate things you no longer use, and consider temporarily storing bulky items.
A useful goal is to make storage spaces feel like they have room to spare.
Clean Out the Garage
Garages are easy to turn into a storage unit.
Before listing, decide what actually needs to stay. Remove old boxes, broken items, unused furniture, and anything that has accumulated over the years.
If buyers can clearly see the garage’s usable floor space, they’ll have a much better understanding of what the space can actually accommodate.
Don’t Hide Everything in One Room
One of the biggest decluttering mistakes is moving everything you don’t want buyers to see into the guest room, closet, garage, or another convenient hiding place.
Buyers will look.
If every closet is packed and the spare bedroom is stacked with boxes, you’ve simply moved the problem instead of solving it.
Start Packing Before You List
One of the easiest ways to stage your home is to start moving before you technically have to.
Pack anything you won’t need while your home is on the market. This could include seasonal decorations, excess clothing, collections, books, toys, extra kitchen equipment, and sentimental belongings.
If necessary, use a storage unit.
Think of it as getting a head start on the move while also making the home easier to sell.
3. Depersonalize the Home
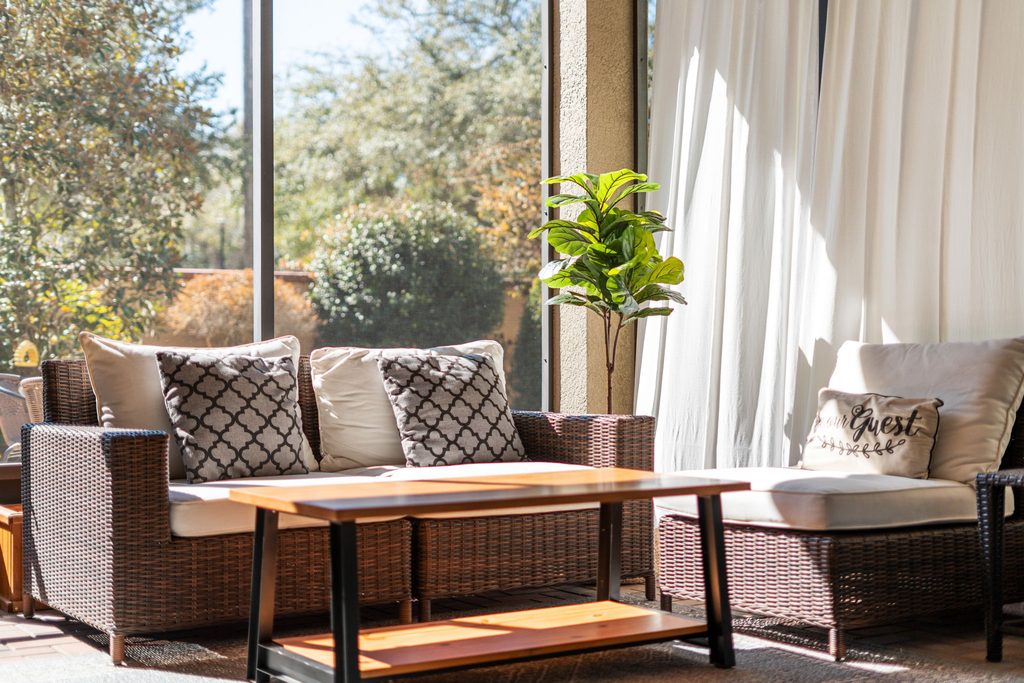
Your home should still feel welcoming, but buyers need enough visual space to imagine their own lives there.
Remove Family Photos and Highly Personal Items
Family photos, children’s artwork, diplomas, personalized signs, and collections can make it harder for a buyer to mentally move into the home.
You don’t need to erase every sign that someone lives there. Just edit the items that make the house feel strongly connected to one particular family.
Put Away Valuable or Sensitive Items
Before listing photos and showings, put away valuables and sensitive personal information.
This includes:
- Jewelry
- Important documents
- Medications
- Financial information
- Personal mail
- Small valuables
- Firearms
- Anything you wouldn’t want strangers seeing or accessing
Your home may be on the market for weeks, and listing photos can be viewed by far more people than those who physically tour the property.
Edit Political, Religious, or Strongly Personal Decor
The goal isn’t to suggest that these things are inappropriate in your home.
The issue is that strong personal statements can become the thing buyers remember instead of the property.
When you’re selling, you want buyers thinking about the kitchen, the backyard, the natural light, the floor plan, and the location.
Keep Some Personality Without Making the Home About You
Depersonalizing doesn’t mean stripping your house of everything interesting.
A few pieces of artwork, books, plants, or decorative objects can make a home feel warm and intentional.
The difference is whether the decor supports the room or becomes the main attraction.
4. Edit Your Furniture and Improve the Layout
Furniture is one of the biggest factors in how large or small a room feels.
You don’t necessarily need different furniture. You may simply need less of it.
Remove Furniture That Makes a Room Feel Small
Start by removing pieces that aren’t necessary.
Extra chairs, side tables, ottomans, oversized cabinets, and rarely used furniture can take up valuable visual and physical space.
Once you’ve removed a piece, take another photo of the room. You may be surprised by how much larger it feels.
Pay Attention to Furniture Scale
A sectional that works beautifully in one house can completely overwhelm another.
Look at the relationship between the furniture and the room. If you have to squeeze around a coffee table or walk sideways between pieces, the room probably needs editing.
Create Clear Walking Paths
Buyers need to be able to move through the house naturally.
Keep pathways open between:
- Entryways and living spaces
- Living rooms and kitchens
- Bedrooms and bathrooms
- Kitchens and dining areas
- Indoor and outdoor spaces
Good furniture placement should make the layout feel intuitive.
Don’t Push Every Piece of Furniture Against the Wall
It can seem logical to push furniture against the walls to create more open floor space, but that isn’t always the best layout.
Furniture should be arranged around the way the room is actually used.
A sofa and chairs can create a conversation area. A bed can anchor a bedroom. A dining table can clearly define a dining space.
Make Each Room’s Purpose Obvious
If you have a spare room that’s currently holding boxes, buyers may not know what to do with it.
If the room could be an office, guest room, playroom, gym, or flex space, give buyers a simple visual suggestion.
You don’t need to create an elaborate setup. A desk and chair can help demonstrate an office. A comfortable chair and lamp can turn an awkward corner into a reading area.
5. Make the Home Feel Bigger
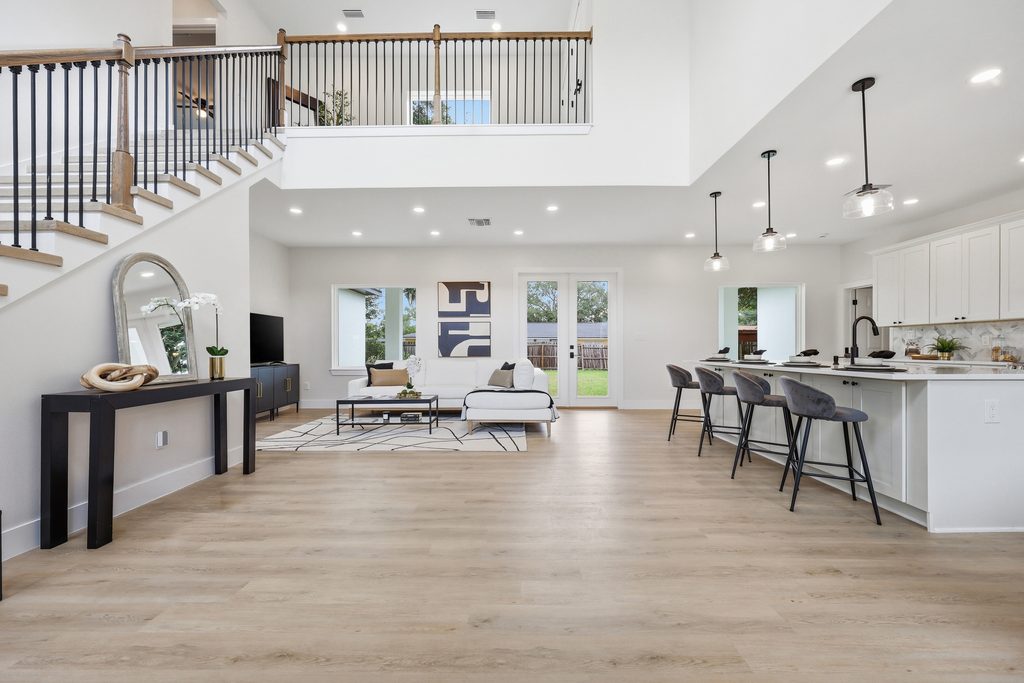
You don’t have to physically increase the square footage to make a home feel more spacious.
You can change how buyers experience the existing space.
Show as Much Floor Space as Possible
Floor space gives the eye room to move.
Remove unnecessary furniture and accessories that interrupt the visual flow of a room.
Keep Walkways Open
A buyer should be able to walk through the home without navigating around furniture.
This is especially important in smaller rooms, hallways, bedrooms, and areas connecting multiple spaces.
Remove Visual Clutter
Too many small objects can have the same effect as too much furniture.
Edit shelves, countertops, coffee tables, nightstands, and other surfaces.
Instead of spreading 15 decorative objects across a room, group a few intentional pieces together and leave some surfaces open.
Use Furniture That Fits the Room
Bigger isn’t always better.
An oversized sofa can make a living room feel cramped. A huge bed and multiple dressers can make a bedroom feel smaller than it is.
Choose the pieces that show the room’s potential without overwhelming it.
Don’t Over-Stage
This is where DIY home staging can go too far.
You aren’t trying to fill every empty surface or corner. You’re trying to help buyers understand the space.
A room needs enough furniture to demonstrate how it works, but enough breathing room for buyers to imagine their own belongings there.
6. Let in as Much Natural Light as Possible
Natural light can dramatically change how a room looks and feels.
It can also make listing photos more inviting.
Open Blinds and Curtains
Before photos and showings, open window coverings as much as practical.
If you have beautiful views, don’t hide them behind heavy curtains.
Clean the Windows
Dirty windows can make a bright room look dull.
Clean the glass, frames, and tracks so you’re getting as much light as possible.
Remove Anything Blocking Windows
Large furniture, plants, decor, or heavy window treatments can interfere with natural light.
If a window is one of the home’s best features, make sure buyers can actually see it.
Add Lamps Where Rooms Need More Light
Not every room will have great natural light.
Add lamps to dark corners, bedrooms, offices, and living spaces where necessary.
Replace Dark or Burned-Out Bulbs
Make sure all bulbs work before listing photos and showings.
If a room feels unusually dark, consider whether the bulb temperature or brightness is contributing to the problem. Aim for lighting that feels consistent and comfortable throughout the home.
Don’t underestimate lighting. A beautiful room can photograph poorly if it’s dark.
7. Use Neutral Colors Without Making the Home Boring
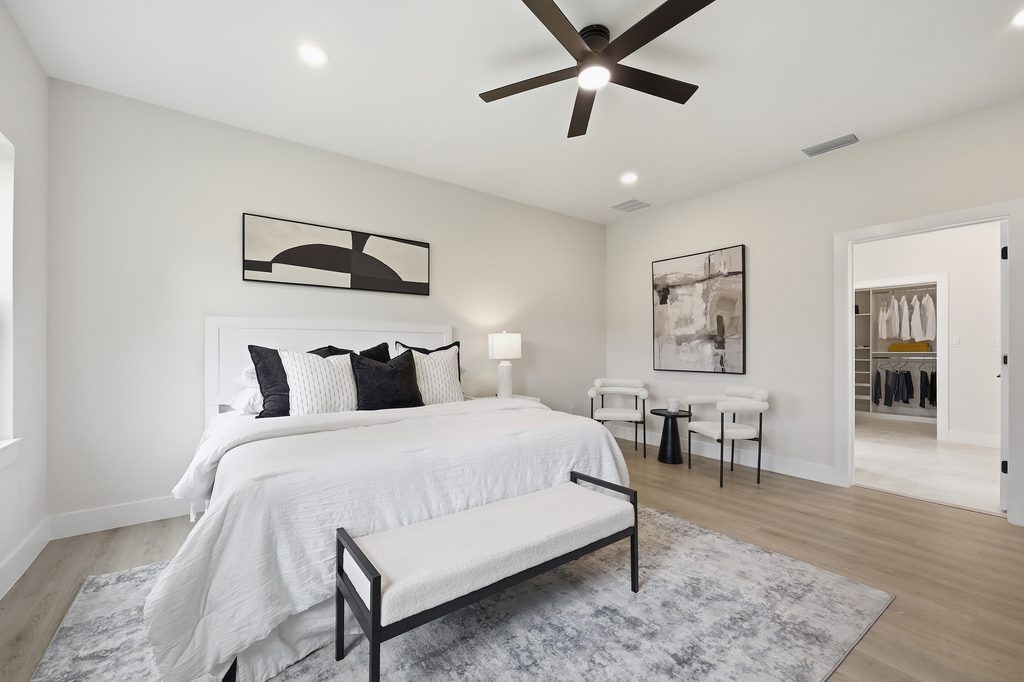
Neutral doesn’t have to mean bland.
The purpose of neutralizing a home is to reduce distractions and create a backdrop that appeals to a broader range of buyers.
When You Should Consider Repainting
Repainting can make sense when you have:
- Very bold wall colors
- Heavy or dated paint colors
- Lots of scuffs
- Patchy walls
- Colors that make rooms feel unusually dark
You don’t need to repaint every room simply because you’re selling.
Choose Soft, Livable Neutrals
Beige, soft white, warm gray, and other restrained neutral colors can help create a cohesive feeling throughout the home.
The right choice depends on the lighting, flooring, finishes, and architecture of the property.
Don’t Paint Just Because You Think You Have To
Paint should solve a problem.
If your current color works with the space and doesn’t distract from the home, spending money and time repainting may not be necessary.
Use Decor to Add Small Amounts of Color
Neutral walls don’t mean every item needs to be beige.
Add warmth through:
- Throw pillows
- Blankets
- Artwork
- Fresh flowers
- Plants
- Simple centerpieces
- Small decorative objects
The goal is balance.
8. Stage the Rooms Buyers Care About Most
You don’t need to spend the same amount of time on every room.
Focus on the spaces that help buyers understand the lifestyle the home offers.
Living Room
The living room should feel comfortable and functional.
Create a conversation area rather than simply lining furniture against the walls. Remove unnecessary chairs and tables, clear clutter from surfaces, and make sure the room’s best feature is easy to see.
If you have a fireplace, large windows, built-ins, or a beautiful view, don’t let furniture compete with it.
Kitchen
The kitchen is one of the first places buyers tend to scrutinize.
Start by clearing the counters.
Keep only a few intentional items visible and put away appliances you don’t need.
Then organize the pantry, cabinets, and drawers. Buyers may open them, so don’t forget about the spaces behind closed doors.
If the kitchen has great storage, make it easy to see.
Primary Bedroom
The primary bedroom should feel calm, spacious, and comfortable.
Start with fresh bedding and remove unnecessary furniture. Clear nightstands and dressers of excess personal items.
If the room has a large closet, make sure buyers can actually see it. Don’t fill the closet with everything you removed from the rest of the house.
Bathrooms
Bathrooms should feel clean and simple.
Put away toiletries, medications, cleaning supplies, and personal items.
Fresh towels can instantly make a bathroom feel more polished. Keep countertops mostly clear and avoid filling every surface with decorative accessories.
Home Office or Flex Space
Don’t let a flex room become the room where everything goes when you’re cleaning for a showing.
Give the space a clear purpose.
If it’s an office, show it as an office. If it could function as a guest room, show that potential.
A buyer doesn’t need you to tell them every possible use. They just need enough visual information to understand the possibilities.
9. Don’t Forget the Entryway
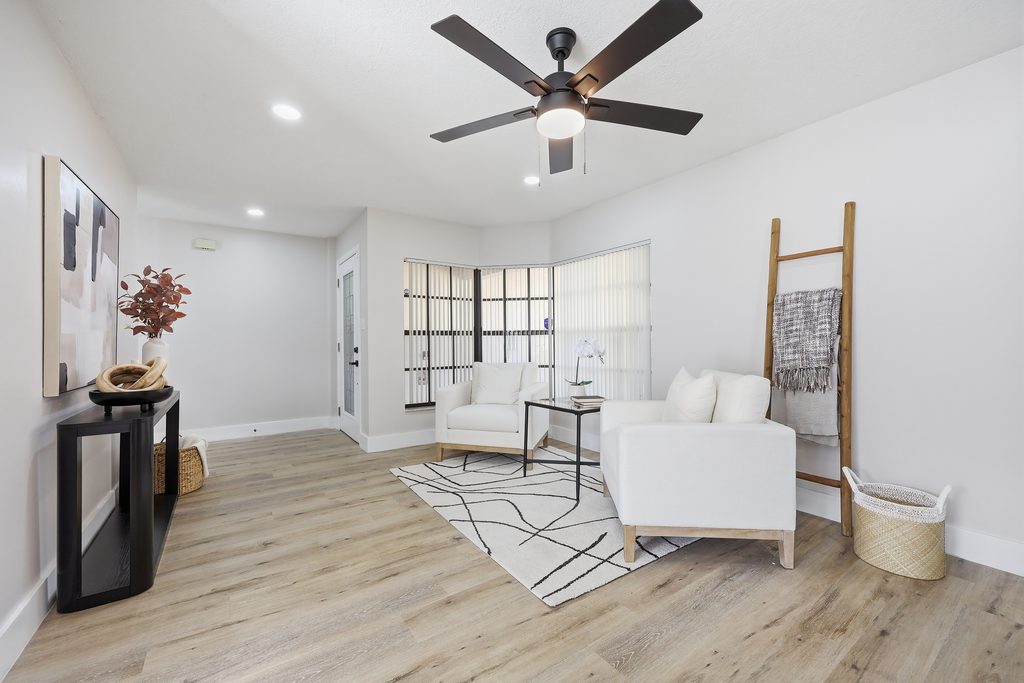
The entryway is easy to overlook because it’s often treated as a drop zone.
During a showing, it’s part of the buyer’s first experience of the house.
Make the Front Door Feel Welcoming
Clean the door, hardware, walls, and surrounding area.
If the entry has space for a simple console, bench, mirror, or artwork, keep the styling restrained.
Remove Shoes, Bags, and Everyday Clutter
Your entryway might normally hold everything your family drops when they walk through the door.
Before listing, find another place for those items.
Clean the Door and Hardware
Dust, fingerprints, cobwebs, and worn hardware can make the entrance feel less cared for.
Small maintenance details matter.
Add Simple, Appropriate Decor
A clean doormat, simple plant, mirror, or small piece of artwork can be enough.
You don’t need to create a Pinterest-worthy entryway. It just needs to feel intentional.
Make the Entryway Feel Like Part of the Home
Don’t treat the front entrance as an afterthought.
The goal is to create a smooth transition from the exterior to the interior so buyers immediately feel like they’ve entered a well-maintained home.
10. Improve Your Curb Appeal
Home staging starts before buyers walk through the front door.
Clean the Front Walkway and Driveway
Sweep, pressure wash where appropriate, remove weeds, and clean up anything that makes the exterior look neglected.
Trim Overgrown Landscaping
Keep grass maintained and trim shrubs, trees, and plants that have become overgrown.
You don’t necessarily need an expensive landscape makeover.
Refresh Mulch or Plantings Where Needed
A few well-maintained plants or fresh mulch can make the entrance feel cared for without requiring a major landscaping project.
Clean the Front Door
The front door is one of the first things buyers see.
Clean it, wipe down the hardware, and remove cobwebs or dirt around the entrance.
Keep the Porch Simple and Inviting
Remove excess furniture, toys, tools, and seasonal decorations.
If you have a usable front porch, a simple chair, plant, or small table can help buyers understand the space without making it feel crowded.
11. Create Inviting Spaces Buyers Can Picture Themselves Using
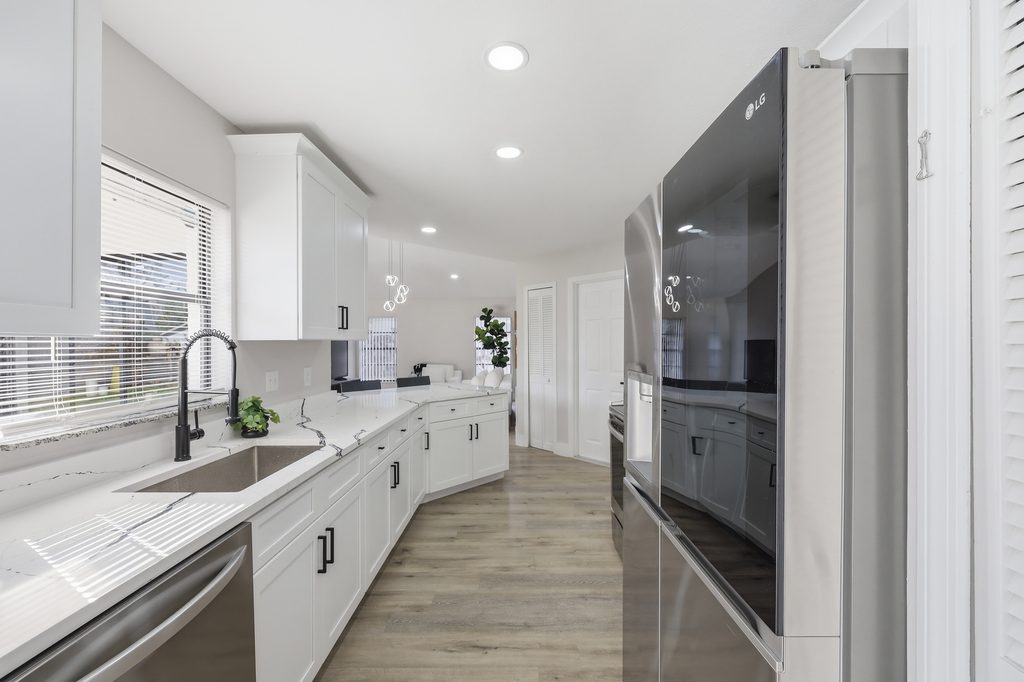
One of the most useful things staging can do is help buyers understand how they could live in the home.
Give Empty or Awkward Spaces a Purpose
An empty corner can feel like wasted space.
You might use:
- A chair and lamp for a reading nook
- A small desk for a home office
- A bench for an entry
- A small table for a breakfast area
Don’t force furniture into a space just because it’s empty. Only add something if it helps communicate a useful purpose.
Create a Simple Outdoor Living Area
If you have a patio, pool area, screened porch, balcony, or backyard, help buyers understand how they can use it.
A small seating area or outdoor dining setup may be enough.
Make the Dining Area Feel Functional
If you have a dedicated dining room, show it as one.
A dining table, appropriately sized chairs, and simple centerpiece can help buyers understand the scale and purpose of the room.
Style Shelves and Surfaces Intentionally
You don’t need to decorate every shelf.
Group similar items, vary heights, and leave some open space.
The goal is to guide the eye rather than give it 20 things to look at.
Use Small Touches to Add Warmth
A staged home shouldn’t feel sterile.
Fresh flowers, plants, a simple bowl of fruit, fresh towels, a folded blanket, or a few carefully chosen accessories can make a room feel welcoming.
Think intentional, not excessive.
12. What You Don’t Need to Buy for DIY Home Staging
One of the biggest misconceptions about DIY home staging is that you need to go shopping.
You don’t.
You Don’t Need All New Furniture
Before buying anything, look at what you already have.
Can you move the sofa to another wall? Remove a chair? Move a dresser out of the bedroom? Use a dining table somewhere else?
Rearranging can completely change how a room feels.
You Don’t Need Expensive Decor
You can create a polished look with simple items you already own or inexpensive updates.
Fresh towels, bedding, lamps, pillows, plants, and simple accessories can go a long way.
You Don’t Need to Copy a Design Trend
The goal isn’t to make your house look like the latest Instagram or Pinterest trend.
A home can be beautifully staged without looking trendy.
In fact, chasing a specific design aesthetic can sometimes make the house feel less relatable to buyers.
You Don’t Need to Stage Every Room Like a Magazine
Over-staging is a real thing.
You want the major rooms to feel finished, but not every room needs elaborate styling.
The sweet spot is enough furniture and decor to help buyers understand the space, without so much that the property becomes visually overwhelming.
Work With What You Have First
Before spending money, ask:
What can I remove?
Rearrange?
Clean?
What can I store?
What needs to be repaired?
Only after answering those questions should you start shopping.
There are situations where rental furniture or professional staging makes sense, especially when a home is vacant, the existing furniture doesn’t work with the layout, or the property needs a more tailored presentation.
13. What DIY Home Staging Mistakes Should You Avoid?
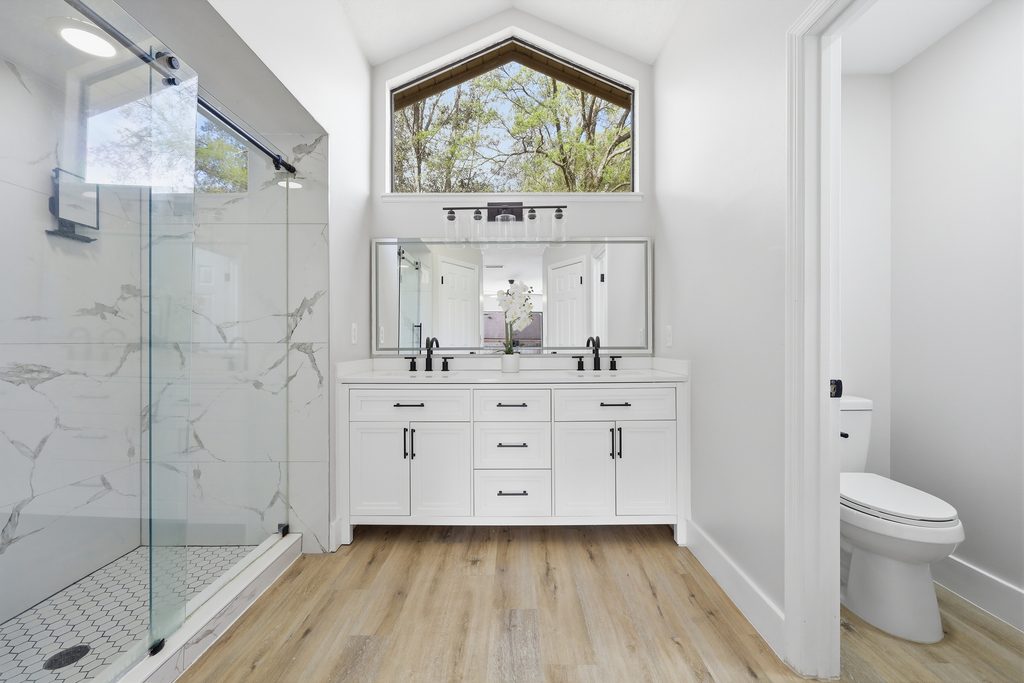
DIY home staging can work very well, but it’s easy to accidentally make the house look more cluttered or less inviting while trying to improve it.
Overcrowding Rooms
More furniture doesn’t necessarily make a room feel more complete.
If buyers have to navigate around furniture, remove something.
Hiding Clutter Instead of Removing It
Stuffing everything into closets and spare rooms doesn’t solve the problem.
Buyers are looking at those spaces too.
Leaving Too Much Personal Decor
A home should feel warm, but highly personal items can distract buyers from the property.
Edit family photos, collections, personalized decor, and other items that dominate the room.
Blocking Natural Light
Don’t cover a beautiful window with furniture or heavy curtains.
Natural light is a feature. Treat it like one.
Using Furniture That Is Too Large
Furniture should be proportional to the room.
A massive sectional may be comfortable for your family but could make the living room look much smaller in listing photos.
Making Every Room Look the Same
Neutral doesn’t mean identical.
Your home should feel cohesive, but each room should still have a clear function and some visual interest.
Over-Staging
You don’t need five decorative pillows, three plants, a tray on every coffee table, and something on every shelf.
If buyers notice the decor before they notice the room, you’ve probably gone too far.
Ignoring the Exterior
Don’t spend all your time inside and forget the front yard, driveway, porch, pool area, or backyard.
The first impression starts outside.
Spending Money on the Wrong Improvements
One of the most expensive staging mistakes is investing in improvements that buyers don’t necessarily care about.
Before spending thousands on a renovation, ask whether the project actually solves a problem or improves the home’s marketability.
Taking Listing Photos Before the Home Is Ready
Professional photography should happen after the staging work is complete, not before.
Photos are often a buyer’s first experience with your property, so you want the home looking its best before the camera arrives.
If you want a deeper look at the biggest problems sellers run into, read our guide to [home staging mistakes] before you list.
14. DIY Home Staging Before Listing: Your Step-by-Step Timeline
Trying to do everything the night before your listing photos is a recipe for stress.
Give yourself enough time to make thoughtful decisions.
4–6 Weeks Before Listing
Start with the things that take the longest:
- Make repairs
- Schedule a deep clean
- Start decluttering
- Begin packing
- Remove excess furniture
- Sort closets and storage
- Decide whether any rooms need paint
- Start addressing curb appeal
This is also a good time to get an objective opinion from your real estate agent or stager.
2–3 Weeks Before Listing
Now focus on the visual presentation:
- Depersonalize the home
- Finish removing excess furniture
- Rearrange furniture
- Paint where needed
- Style the major rooms
- Organize closets and cabinets
- Finish landscaping and exterior cleanup
- Decide what needs to be stored off-site
At this point, you should be able to walk through the home and understand what a buyer is supposed to notice in each room.
1 Week Before Photos
Do your final staging edits:
- Adjust furniture placement
- Style shelves and surfaces
- Clean windows
- Replace burned-out bulbs
- Check light fixtures
- Finish exterior cleanup
- Clean patios and outdoor spaces
- Make sure closets and storage areas look spacious
Take another set of photos on your phone.
What stands out now?
If you’re still seeing clutter or distractions, this is the time to fix them.
The Day Before Photography
Do a full reset:
- Clear kitchen counters
- Clear bathroom counters
- Hide trash cans
- Make the beds
- Put away toiletries
- Put away pet items
- Remove unnecessary small appliances
- Open curtains where appropriate
- Clean mirrors and glass
- Turn on lamps
- Remove cars from the driveway if appropriate
- Tidy outdoor spaces
- Check the front entrance
Don’t forget the small details. They show up in photos.
Before Every Showing
Once your house is staged, the goal is to keep it that way.
Before buyers arrive:
- Reset the rooms
- Clear surfaces
- Open blinds
- Turn on lights
- Make the beds
- Put away personal items
- Take out the trash
- Keep odors neutral
- Put away pet items
- Make sure the entry is clear
The easier your routine is, the easier it will be to maintain the home throughout the listing.
DIY Home Staging Checklist Before You List
Use this as your final walkthrough:
- Complete obvious repairs
- Deep clean the home
- Clean windows and glass
- Declutter every room
- Start packing
- Depersonalize
- Put away valuables and sensitive items
- Remove excess furniture
- Improve furniture placement
- Open up walking paths
- Maximize natural light
- Replace burned-out bulbs
- Touch up paint where needed
- Clear kitchen counters
- Simplify bathrooms
- Organize closets and cabinets
- Clean out the garage
- Stage awkward spaces
- Improve curb appeal
- Clean the entryway
- Prepare outdoor spaces
- Check every room through a buyer’s eyes
- Prepare the home for professional photography
- Create a showing-day reset routine
When Should You Stop DIYing and Hire a Professional Home Stager?
DIY home staging can go a long way, but sometimes an objective outside perspective is what makes the biggest difference. If you’re unsure what to remove, how to arrange furniture, or what buyers will notice first, a professional home stager can help you prioritize the changes that matter most.
DIY home staging can be a great place to start, but sometimes an outside perspective is worth it.
You’re Not Sure What to Remove
You’ve lived with your belongings for years. It’s easy to become blind to what makes a room feel crowded.
A professional can look at the space objectively and identify what’s helping the room and what’s distracting from it.
Your Furniture Doesn’t Work With the Layout
Sometimes the problem isn’t the furniture itself. It’s the scale or placement.
If you’ve tried multiple arrangements and the room still feels awkward, a staging consultation can help.
The Home Feels Dated
If your home has older finishes, strong paint colors, or a very specific decorating style, you may benefit from professional advice about what to update and what to leave alone.
You don’t want to spend money updating things that aren’t necessary.
The Property Is Vacant
Vacant homes can be especially difficult for buyers to understand.
Without furniture, it’s harder to judge scale and visualize how rooms can function.
Strategic staging can help buyers understand the proportions and possibilities of the space.
You’re Selling a Luxury Home
Higher-end properties often require more intentional presentation.
The staging should reflect the architecture, buyer profile, lifestyle, and price point of the property rather than simply filling rooms with expensive-looking furniture.
The Home Has Been Sitting on the Market
If your home has had plenty of showings but isn’t generating the response you expected, the presentation may be worth reevaluating.
Look at the listing photos, furniture placement, clutter, lighting, curb appeal, and how clearly each space communicates its purpose.
You Want an Objective Opinion Before Listing
You don’t necessarily have to hire a professional stager to furnish your entire house.
A consultation can be enough.
A professional may simply walk through the home and give you a prioritized list of what to remove, rearrange, repair, or update before you list.
Sometimes that’s all you need.
FAQs About DIY Home Staging
Can I stage my house myself?
Yes. Many homeowners can make meaningful improvements themselves by cleaning, decluttering, depersonalizing, rearranging furniture, improving lighting, and addressing curb appeal.
The key is to approach the process from the buyer’s perspective rather than your own.
What is the cheapest way to stage a house?
Start by using what you already have.
Decluttering, rearranging furniture, cleaning, opening window coverings, organizing storage, and improving curb appeal can cost very little.
Only spend money after you’ve identified a specific problem that needs to be solved.
What should I remove when staging my home?
Start with excess furniture, personal photos, collections, clutter, toiletries, countertop appliances, seasonal items, and anything that distracts from the home’s best features.
Don’t forget closets, cabinets, garages, and other storage areas.
Should I remove family photos when selling my house?
Generally, removing highly personal family photos can help buyers imagine themselves living in the home.
You don’t have to remove every personal item, but the goal should be to keep the focus on the property rather than the current occupants.
How much furniture should I have when staging?
Enough to show buyers how a room works, but not so much that the room feels crowded.
Every piece should earn its place.
If removing one piece makes the room feel larger and improves the flow, it may not need to be there.
Should I repaint my house before selling?
Not necessarily.
Repainting can make sense if your walls have very bold colors, visible damage, heavy scuffing, or a dated appearance.
If your existing colors are in good condition and work with the rest of the home, you may not need to repaint.
Do I need to buy new furniture to stage my home?
No.
Try rearranging and editing your existing furniture first. New or rental furniture can make sense when your current pieces are too large, dated, mismatched, or otherwise unsuitable for the property.
Should every room be staged?
Not necessarily.
Focus on the rooms buyers are most likely to care about, including the living room, kitchen, primary bedroom, bathrooms, and important flex spaces.
The goal is to make every space understandable, not to decorate every room extensively.
How do I make my house look bigger when selling?
Start by removing excess furniture and visual clutter.
Keep walkways open, use appropriately scaled furniture, maximize natural light, organize storage spaces, and avoid overcrowding rooms.
You don’t need to make the home empty. You need to give each room enough breathing room.
How do I make my house look more expensive when selling?
Focus on presentation rather than expensive decor.
A clean, well-maintained, uncluttered home with cohesive styling, good lighting, fresh towels and bedding, and thoughtful furniture placement can feel much more polished.
Fix the obvious problems before adding decorative upgrades.
Is DIY home staging worth it?
For many sellers, yes.
You can make meaningful improvements without spending a lot of money, particularly when the biggest issues are clutter, furniture placement, cleanliness, lighting, or personal decor.
The important question is not how much you spend. It’s whether your changes improve the way buyers experience the home.
When should I hire a professional home stager?
Consider professional help if you’re unsure what to remove, the layout feels awkward, your furniture doesn’t work for the space, the home is vacant, you’re selling a luxury property, or you’ve already listed without getting the response you expected.
A consultation may be all you need. Professional staging doesn’t always mean furnishing the entire property.
Stage the Home, Not Your Stuff
The best DIY home staging doesn’t require you to transform your house into someone else’s home.
It requires you to step back and look at the property the way a buyer will.
Clean it. Declutter it. Pack what you don’t need. Depersonalize it. Remove furniture that isn’t helping. Open up the walkways. Let in the light. Make the rooms easy to understand. Take care of the exterior. Then photograph the home when it’s actually ready.
Most importantly, don’t assume that selling your home means renovating everything first.
The goal isn’t to make buyers fall in love with your decor. It’s to make it easy for them to see the home itself.
And if you’re not sure what buyers will notice first, that’s exactly where an experienced home stager can help. Sometimes the most valuable staging advice is simply knowing what to remove, what to keep, and what not to spend money on.
📲 Call or text 407-279-0448
📧 Email info@atipicaldesignco.com
🌐 Visit www.atipicaldesignco.com to start your Orlando home-staging journey.
- Fall Room Ideas: 15 Easy Ways to Make Your Home Feel Cozy for Autumn
 Key Takeaways: Fall room ideas don’t have to mean covering your home in pumpkins and orange. Start with warm colors, cozy textures, soft lighting, natural elements, and a few seasonal swaps to make every room feel inviting for autumn. There’s something about fall that makes you want your home to feel a little softer, warmer,… Read more: Fall Room Ideas: 15 Easy Ways to Make Your Home Feel Cozy for Autumn
 - Why Do Interior Designers Cost So Much? The True Value of Interior Design
 It’s one of the most common questions homeowners and business owners ask when beginning a design project: Why do interior designers cost so much? At first glance, interior design can seem expensive. When people think about hiring an interior designer, they often picture selecting paint colors, choosing furniture, and styling accessories. But professional interior design… Read more: Why Do Interior Designers Cost So Much? The True Value of Interior Design
 - 5 Trendy Ways to Use Texture in 2026 Interior Design
 If a space feels flat, it’s usually not the furniture. It’s the lack of texture. In 2026 interior design, texture is doing most of the work. It’s what makes a room feel layered, finished, and easy to connect with Here are 5 trendy ways to use texture in 2026 that actually make a difference 1.… Read more: 5 Trendy Ways to Use Texture in 2026 Interior Design
 - How to Find Your Interior Design Style (Step-by-Step Guide)
 If you’ve ever saved a dozen different home photos and thought, “Why do I like all of these?”—you’re not alone. Learning how to find your interior design style isn’t about fitting into one category. It’s about creating a home that feels like you. At Atipical Design Co., we help clients turn scattered inspiration into a… Read more: How to Find Your Interior Design Style (Step-by-Step Guide)
 - How to Sell My House Fast: 10 Design Tips That Actually Work
 If you’re asking yourself, “How can I sell my house fast?” you’re not alone. In competitive markets like Orlando, Winter Park, and Windermere, buyers make decisions quickly. Often, they decide within seconds of walking through the front door (or scrolling photos online). The good news?You don’t need a full renovation to sell faster. Strategic design… Read more: How to Sell My House Fast: 10 Design Tips That Actually Work


Leave your thoughts: