


Have you ever tried to hang photos straight or line up frames only to realize they’re uneven, crooked, or too far apart? Don’t worry—we’ve all been there. The good news is there’s a simple, no-fail hack that designers love: using painter’s tape to hang photos.
At Atipical Design Co., we’re all about creating stylish, functional spaces, and this DIY tip is one of our favorites for clients who want to hang photos straight without the frustration.
Step 1: Gather Your Tools
You’ll need:
- Painter’s tape (blue or green works best)
- Level (a small one is fine)
- Tape measure
- Hammer or drill (depending on your wall type)
- Nails, hooks, or picture hangers
- Your photo frames or art pieces
Step 2: Measure the Frame’s Hanging Hardware
Turn your frame over and note where the hanging hardware is—D-rings, sawtooth hangers, or wire. Measure the distance between them so you know exactly where your nails will go.
Step 3: Create a Painter’s Tape Template
Tear off a strip of painter’s tape the same width as your frame. Place it on the back of the frame, lining it up with the hardware. Mark on the tape where the nail or hook will need to go. We like to use the nail and just poke a hole in the tape.
Step 4: Stick It to the Wall
Now, peel the tape off the back of the frame and place it directly on the wall where you want to hang your photo. Use your level to ensure the tape is straight—it’s much easier to fix tape than patch nail holes later
Step 5: Hammer in Your Nails or Hooks
Hammer your nails or place your hooks directly on the marks you made on the tape. Once your hardware is secured, peel the tape off the wall.
Step 6: Hang Your Frame & Admire
Hang your photo or art on the hooks and step back—you’ll see that it’s perfectly straight and in the right place, just where you wanted it. No guessing, no extra holes.
Designer Tip: Build a Gallery Wall with Ease
If you’re planning a gallery wall, painter’s tape is a lifesaver. You can create templates for each frame, arrange them on the wall first, and then move them around until you achieve the desired layout. Once you’re happy, nail into your marked tape and you’ll get a flawless, professional look.
Why We Love This Trick at Atipical Design Co.
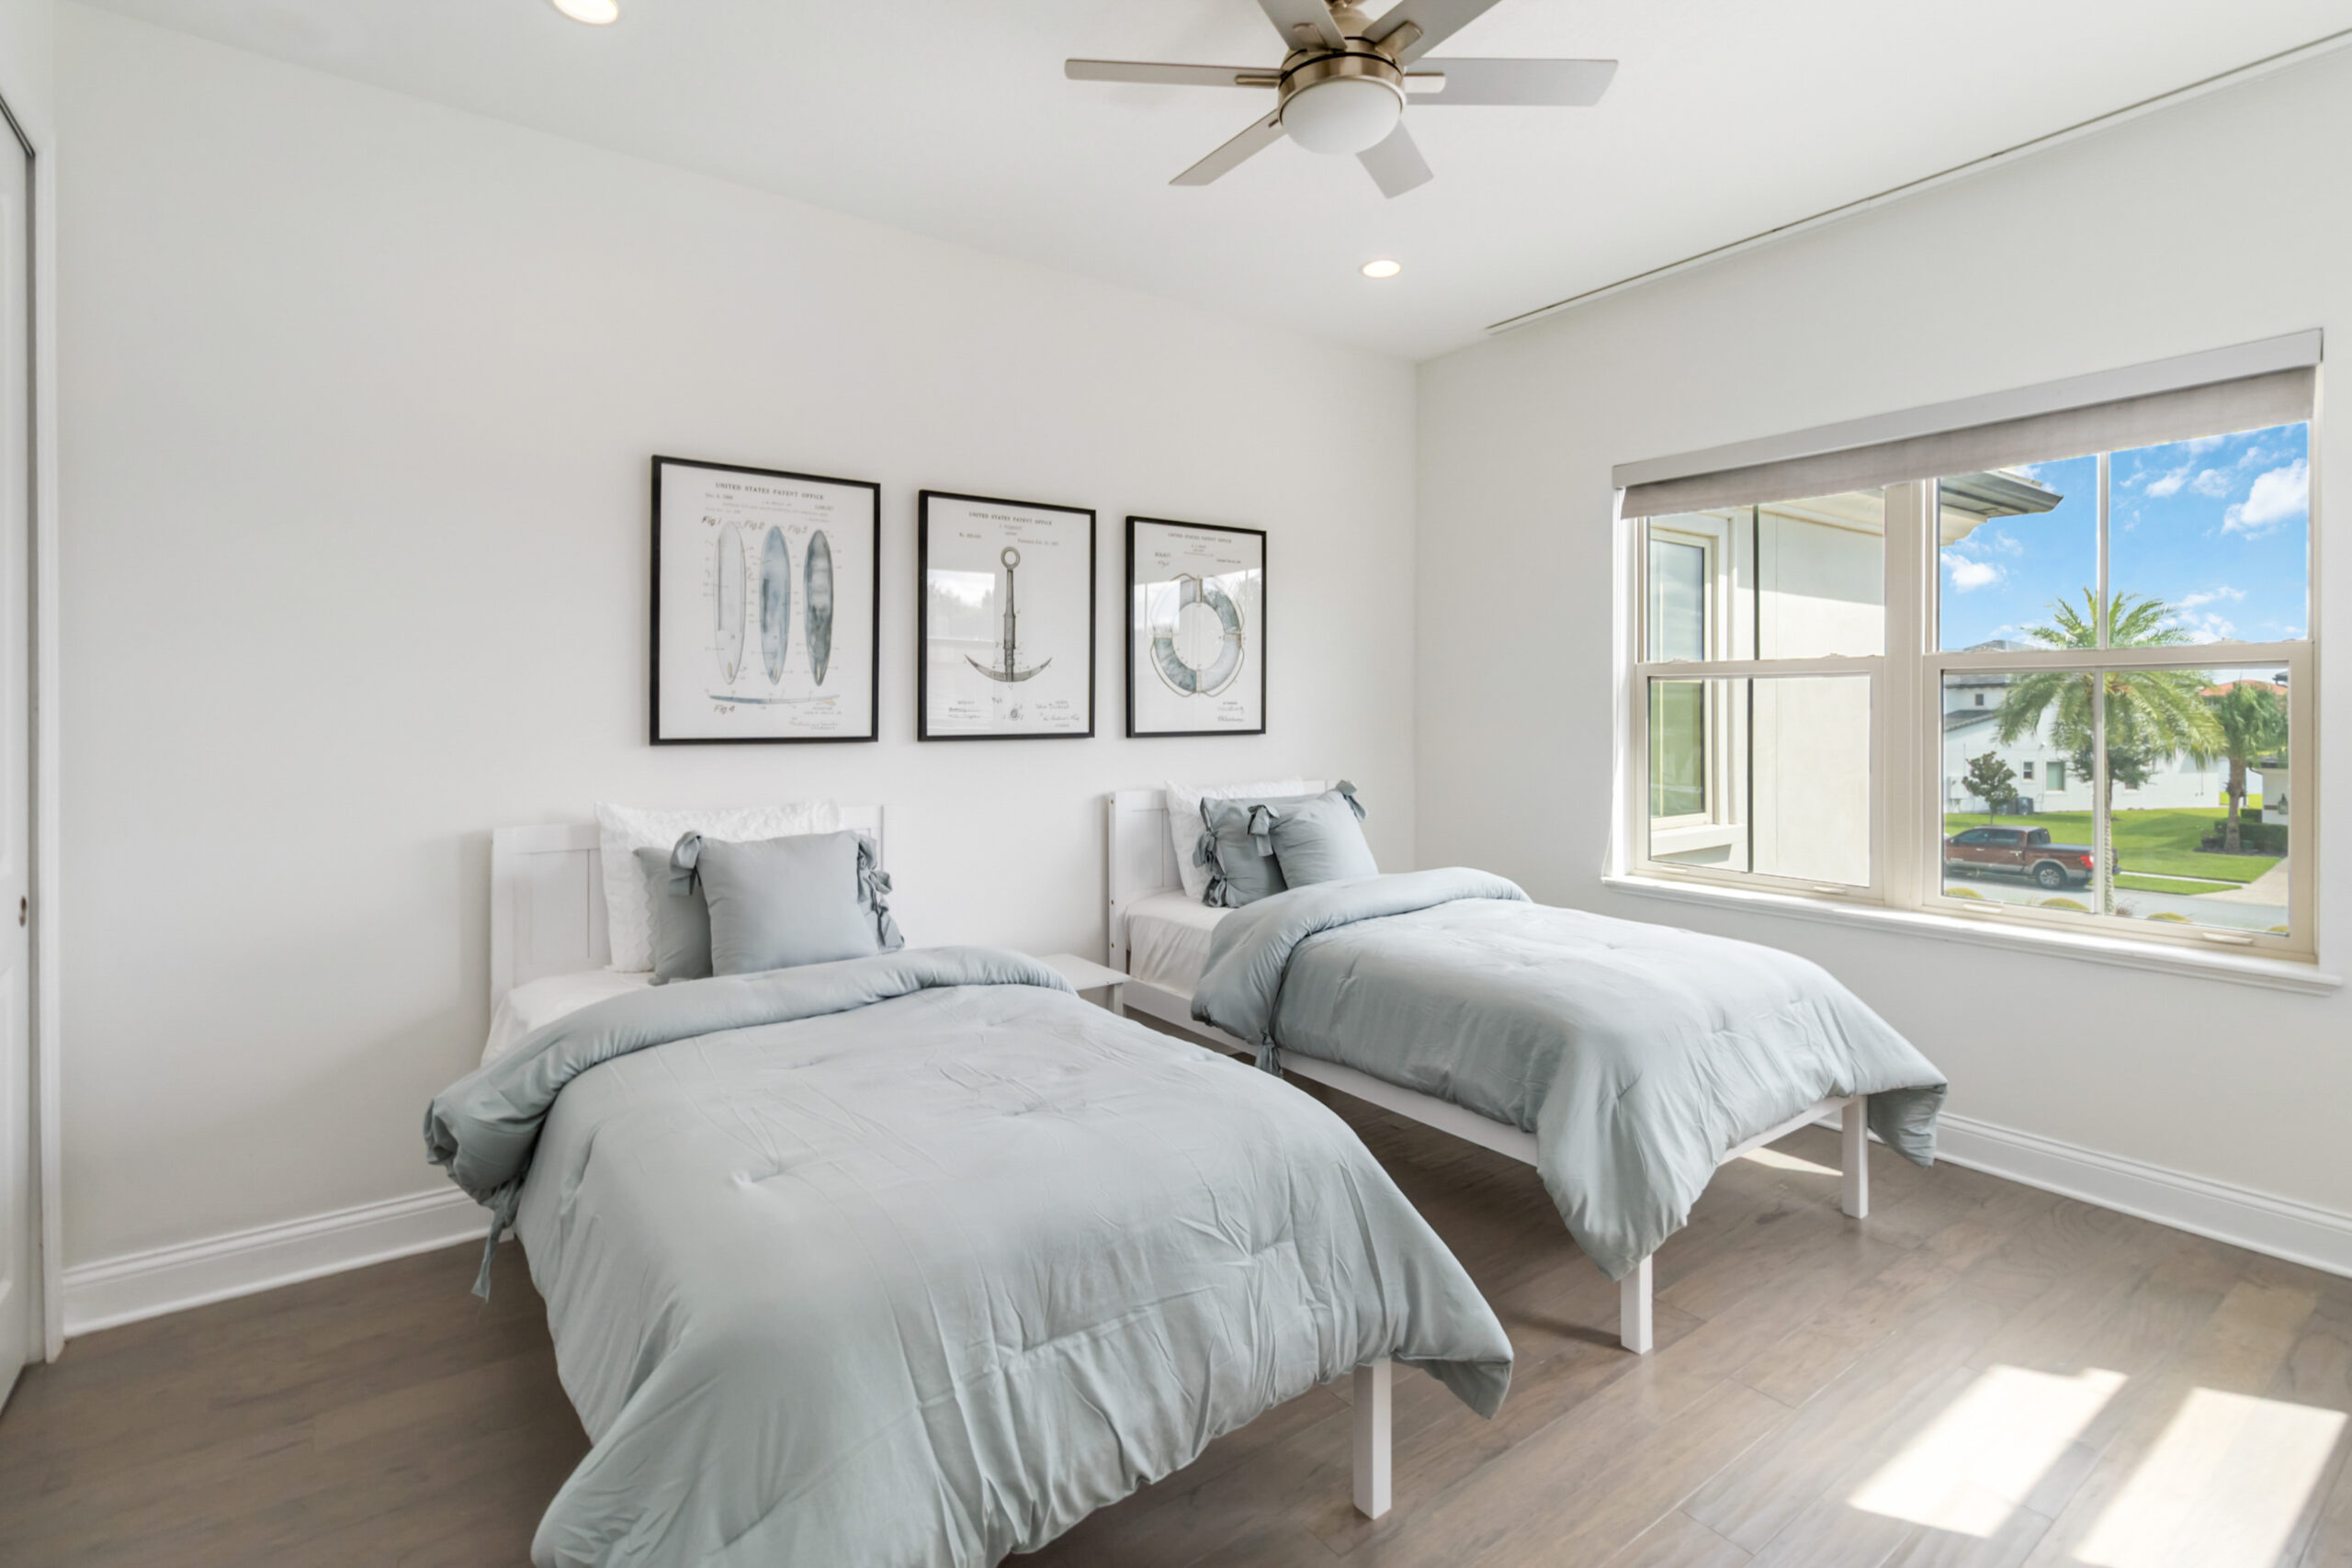
As professional home stagers and interior designers in Orlando, we know that details make all the difference. A well-hung piece of art instantly elevates a room, making it feel polished and intentional. Painter’s tape makes the process stress-free—so you can focus on styling your space instead of patching wall holes.
Final Thoughts
Whether you’re hanging one special photo or creating an Instagram-worthy gallery wall, painter’s tape is your new best friend. Try this method in your own home and watch how simple it becomes to get that designer look.
Looking for more home design tips or professional staging help in Central Florida? Atipical Design Co. is here to transform your space from “typical” to Atipical.
Contact us today for staging and design services that make your home unforgettable.
📲 Call or text 407-279-0448
📧 Email info@atipicaldesignco.com
🌐 Visit www.atipicaldesignco.com to start your Orlando home-staging journey.
- Why Do Interior Designers Cost So Much? The True Value of Interior Design
 It’s one of the most common questions homeowners and business owners ask when beginning a design project: Why do interior designers cost so much? At first glance, interior design can seem expensive. When people think about hiring an interior designer, they often picture selecting paint colors, choosing furniture, and styling accessories. But professional interior design… Read more: Why Do Interior Designers Cost So Much? The True Value of Interior Design
 - 5 Trendy Ways to Use Texture in 2026 Interior Design
 If a space feels flat, it’s usually not the furniture. It’s the lack of texture. In 2026 interior design, texture is doing most of the work. It’s what makes a room feel layered, finished, and easy to connect with Here are 5 trendy ways to use texture in 2026 that actually make a difference 1.… Read more: 5 Trendy Ways to Use Texture in 2026 Interior Design
 - How to Find Your Interior Design Style (Step-by-Step Guide)
 If you’ve ever saved a dozen different home photos and thought, “Why do I like all of these?”—you’re not alone. Learning how to find your interior design style isn’t about fitting into one category. It’s about creating a home that feels like you. At Atipical Design Co., we help clients turn scattered inspiration into a… Read more: How to Find Your Interior Design Style (Step-by-Step Guide)
 - How to Sell My House Fast: 10 Design Tips That Actually Work
 If you’re asking yourself, “How can I sell my house fast?” you’re not alone. In competitive markets like Orlando, Winter Park, and Windermere, buyers make decisions quickly. Often, they decide within seconds of walking through the front door (or scrolling photos online). The good news?You don’t need a full renovation to sell faster. Strategic design… Read more: How to Sell My House Fast: 10 Design Tips That Actually Work


Leave your thoughts: